iBuyPower Element Gaming PC Review: i7-8086K and GTX 1080 Ti Inside
by Joe Shields on July 6, 2018 10:00 AM ESTUnboxing and Visual Inspection
Purchasing a boxed system from a builder like iBuyPower the device arrives at users houses fully assembled and ready to go. The only setup needed are plugging in the mouse and keyboard, internet, video cable, and power cable. Once plugged in it should be as simple as hitting the power button, walking through Windows configuration, and voilà its ready to install the games one wishes to play.
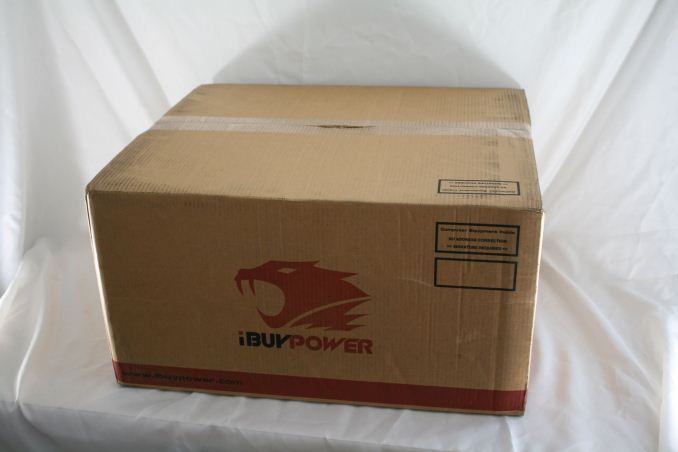
The iBuyPower PC arrived in a large box as seen above. The box is fairly nondescript outside of the iBuyPower logo and writing on four of the six sides. It is shipped in a box in a box manner to keep what is inside protected.
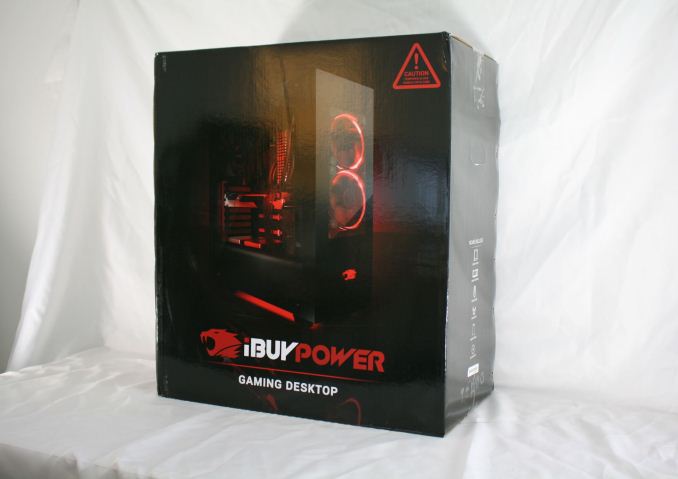
When opening up the box we are greeted with our first glimpse of the system in the form of an image on another box. This is more of what one would see on shelves with the system sitting securely inside. The PC sits in styrofoam shell protecting the PC inside.
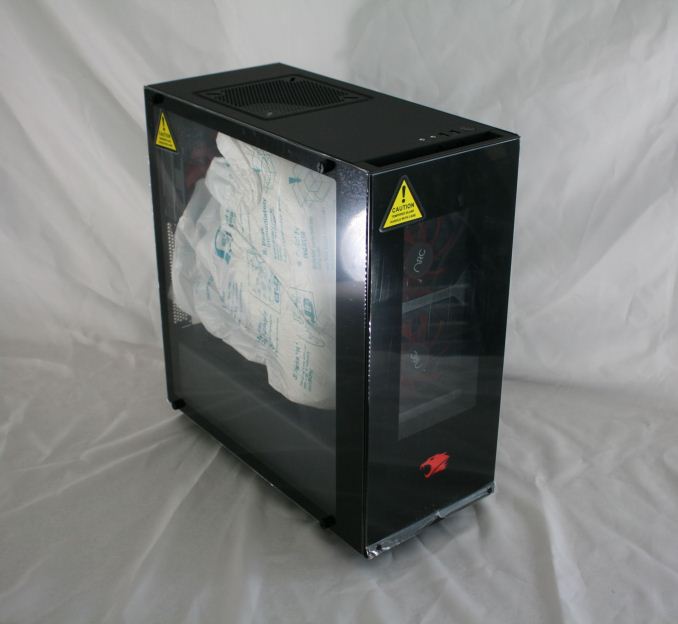
After we removed the PC from its box, we are left with what is pictured above. iBuyPower uses form-fitting materials inside to hold all the components in place while in transit. The tempered glass panels each have a protective film over it to prevent any damage to the glass itself.
Overall the system is packaged well and should handle the bumps and bruises of shipping with how the unit is enclosed. It has both box in box protection and sits suspended from the box panels and edges so it should arrive at the buyer's house as pristine as it left the factory.
iBuyPower Element i7 8086K
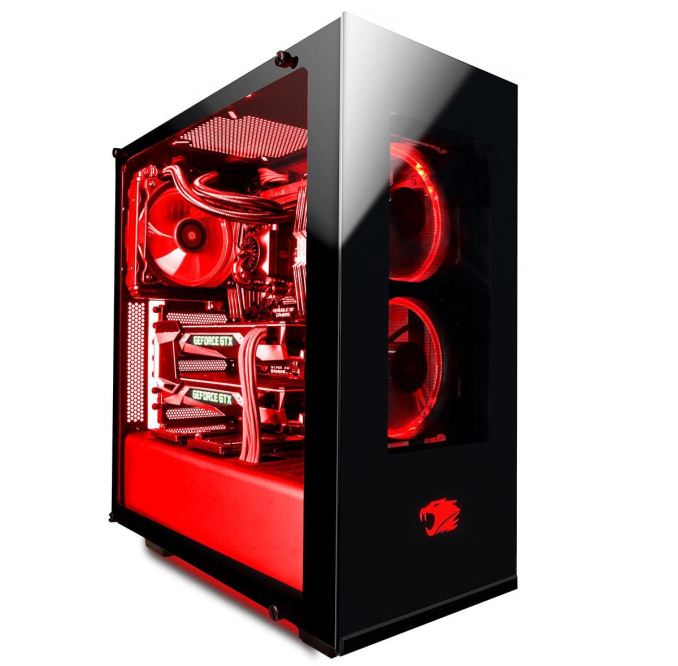
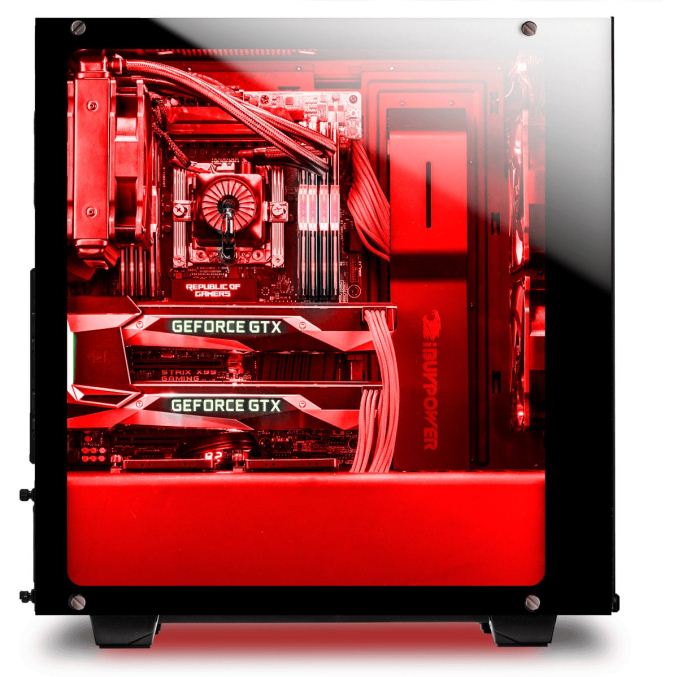
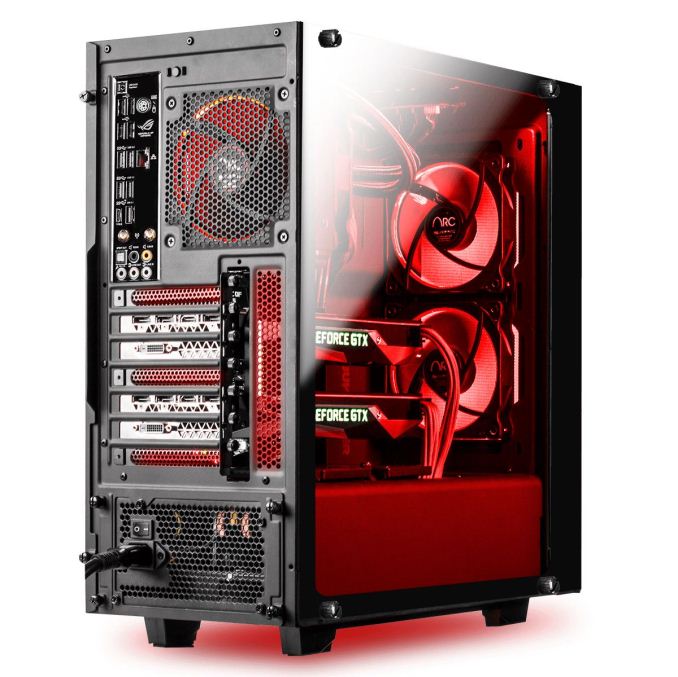
We'll first display some stock images and then poke around on the inside. The case used in the Element chassis uses two tempered glass panels with one on the front with their logo lit up, and one on the sides showing off the internals. Overall it's a good looking case without some of the curious angles we have seen in some designs. The simple design and use of tempered glass panels gives the case a more expensive appearance as opposed to acrylic sided cases. The bare chassis structure is sourced from NZXT while glass front and sides are custom pieces tooled in-house.
iBuyPower ships the case with 3 ARC RGB LED fans giving it a nice red glow out of the box. Internally, the ASUS TUF Z370-Pro Gaming motherboard and the ADATA Spectrix D41 RAM further illuminates the interior of the case, with the latter two customizable through the Aura Sync software. In regards to airflow, there is plenty of space on the top and bottom of the front panel to let cool air through a removable dust filter. The IO panel sits up at the top of the case for easy access and there is another fan location for additional airflow as well.
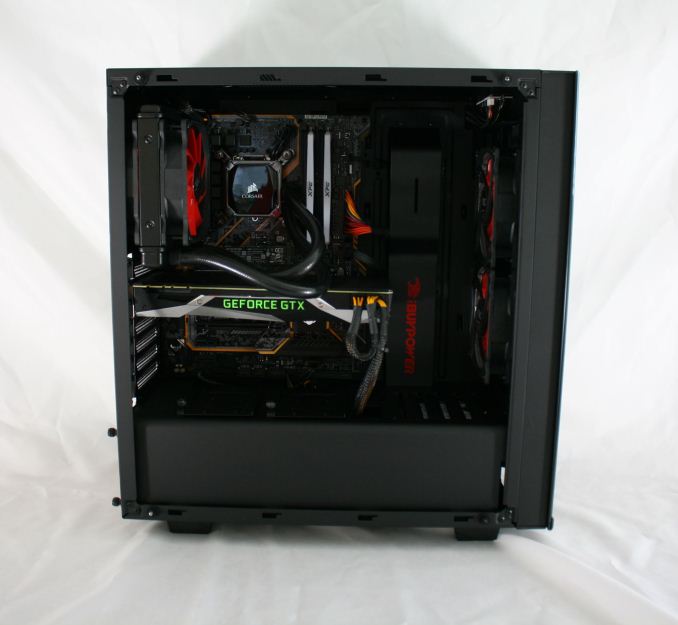
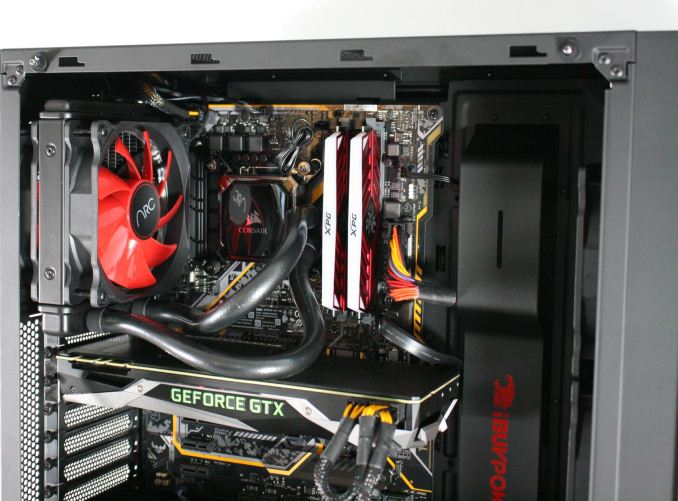
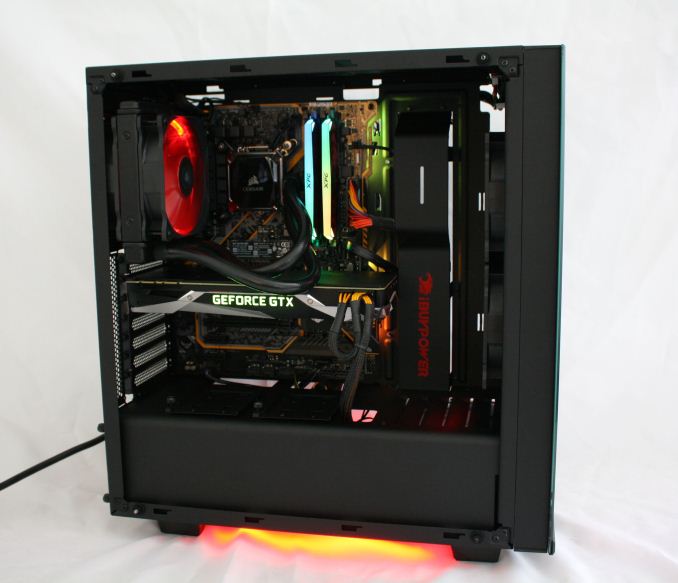
Taking the glass side panel off via four thumbscrews expose a fairly roomy interior with all the components housed inside. Our initial look shows the case will fit up to ATX sized motherboards and we can see a large shroud over the power supply to cover up unsightly cables. To the right of the motherboard and video card, we can see additional shrouds for cleaning up the cables mounted to the chassis as well as two 120mm fans for intake.
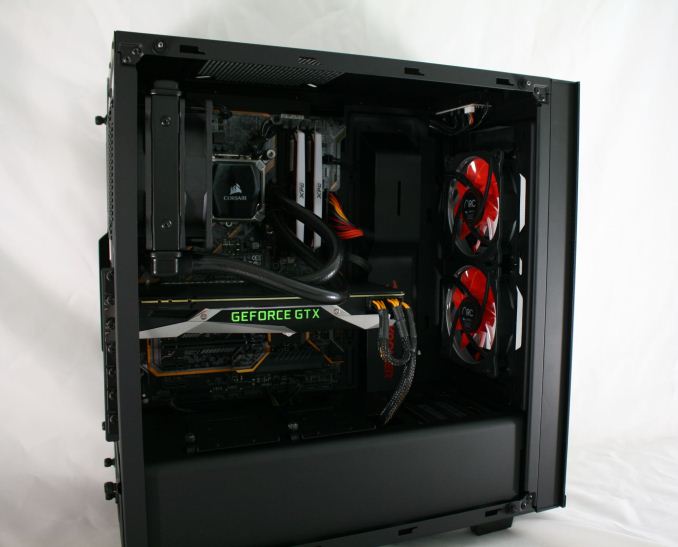
Twisting the case a bit to expose more of the front fans, we can see there is room for two 120mm fans as well as being able to support two 140mm fans or 2x120/2x140mm radiators. Between the front glass panel and the fans is a removable dust filter to help keep the inside of the case clean. Up top, there is room for a 120mm/140mm fan. Below the front fan mount locations we see the louvered top of the power supply shroud, and beneath that the 3.5-inch Western Digital Caviar Blue HDD this model came equipped with. Further below that is another 3.5-inch drive bay.
Sliding the case around again we are able to see a better shot of the rear 120mm fan mount which in this case has a Corsair H60 CLC unit mounted to cool the CPU. Shown in the top of this image are two of the four studs with rubber washers for attaching the tempered glass main panel.
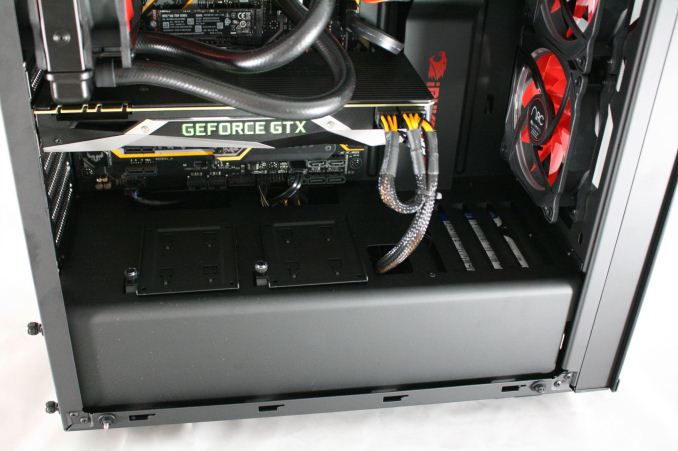
This image more clearly shows the shroud covering up the power supply and most of its cables as well as the two 2.5-inch mount points on the left which are removable via thumbscrews. The shroud has cutouts for cables that attach to the bottom of the motherboard as well as a cutout to route PCIe power cables as well making the interior case aesthetic clean with plenty of places to hide and route the wires.
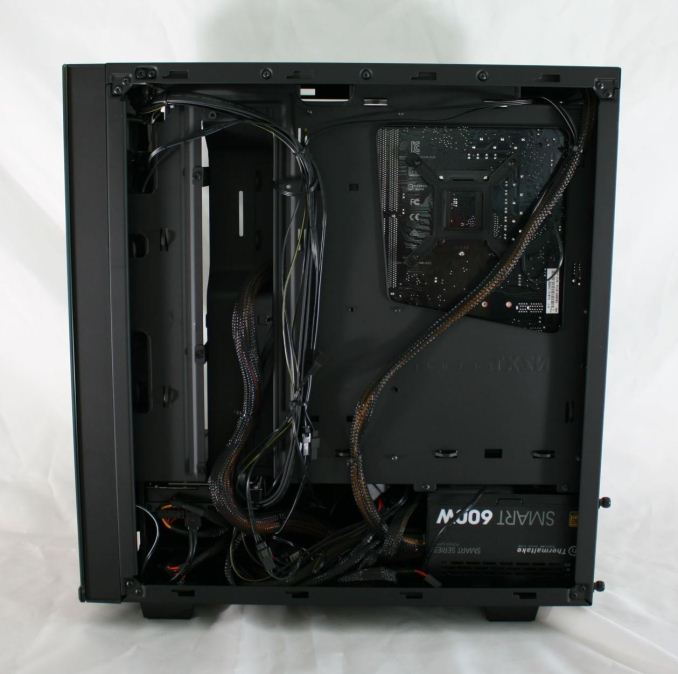
The back of the case has ample room for cables under the shroud as well as between the side panel and motherboard tray. There are multiple tie-down points for any other cables that also helps routing and cleaning up a jumble of wires. Routing the wires properly behind the tray can prevent side panel bulge we have seen on some other cases. There is a decent size trapazoid cutout exposing the back of the motherboard socket area for ease of mounting coolers.
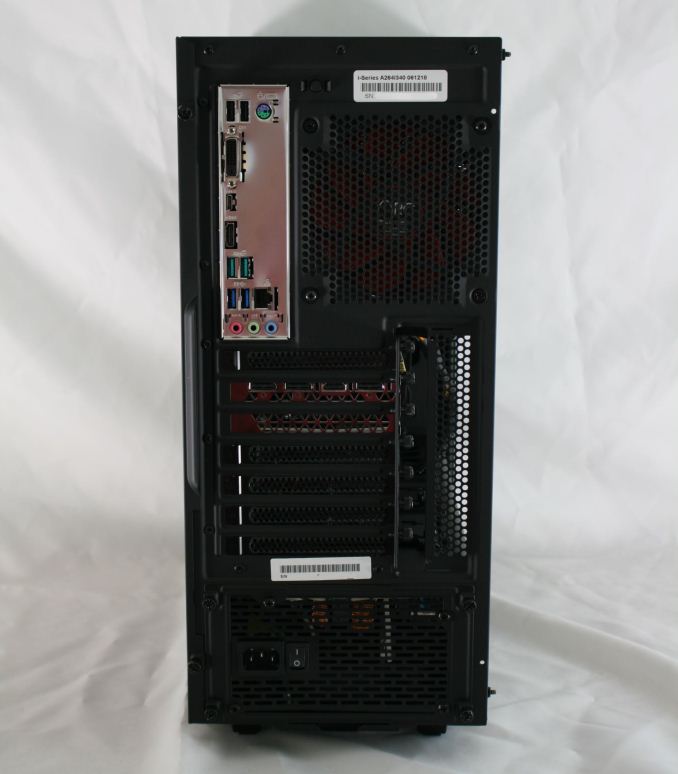
The back of the case shows the vented Thermaltake power supply at the bottom and just above that, seven expansions slots for additional PCIe cards are available.
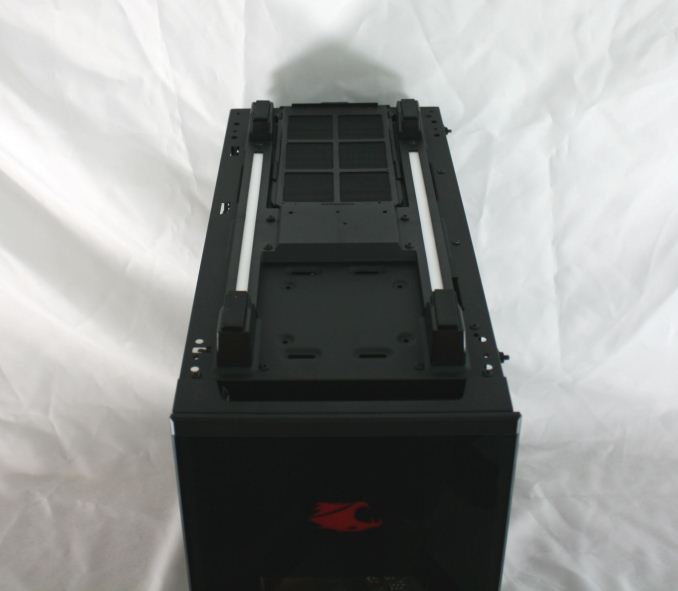
Flipping the case on its head, we are now able to see another removable dust filter, this time for the bottom mounted power supply. The white strips seen running along the length of the chassis are integrated RGB LED strips. The case stands on four feet raised up a bit over an inch from the bottom of the case which should allow for ample airflow (except perhaps on the most shag of carpets).
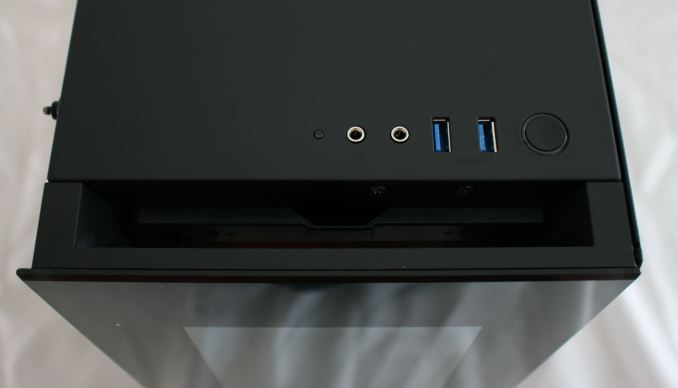
Last but certainly not least is the IO panel located on the top front part of the case. The panel consists of a power/reset button, two USB 3.0 ports, 3.5mm headphone and microphone jacks, as well as a HDD LED to display drive activity. I would like to have seen a USB 3.1 port of some sort here. The large gap in front of the IO area is where the air is able to come into the case and from the top is where one removes the front dust filter. There is a matching gap at the front bottom of the case for intake as well.
Overall, the chassis is well put together feeling sturdy even without the glass and other side panel removed. The tempered glass side and front panels have a black border on edges cleaning up the look so only the internals are exposed and not the frame of the chassis. There is plenty of room to route cables and shrouds to hide them, and iBuyPower did a pretty good job of tidying them up at the factory. iBuyPower's red LED implementation on the included fans and the strips on the bottom of the case cannot be changed, however, the LEDs on the ASUS TUF Z370-Plus Gaming motherboard as well as the ADATA RAM can be controlled through the ASUS AURA software. The case has ample airflow capabilities and can handle the heat without issue.
In the Box
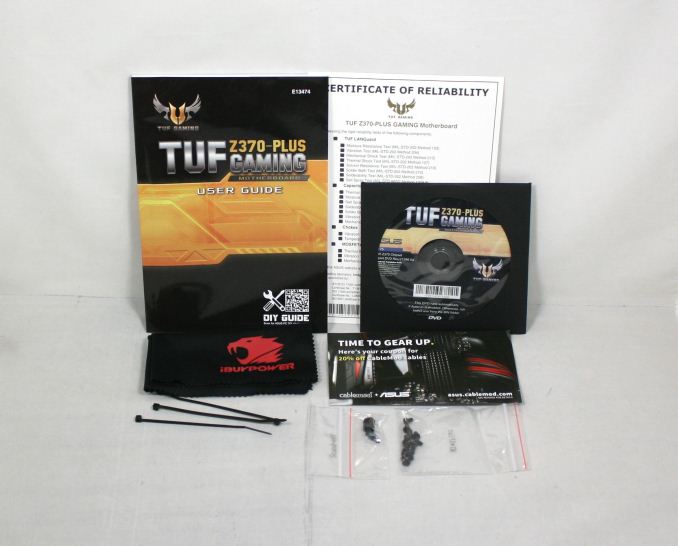
Inside the iBuyPower Box was a frosted bag which contained all the included accessories. We see an ASUS TUF Z370-Plus Gaming user guide, driver disk, some screws and zip ties. There isn't too much here, but in buying a complete system like this, there isn't much one needs to get started or extra. That said, I would like to have seen an extra SATA cable or two included to more quickly add SATA based storage.






50 Comments
View All Comments
WasHopingForAnHonestReview - Saturday, July 7, 2018 - link
You complained about stock photos... Another whined about possiboe static electricity from foam packing. Another said he likes not having so many rbg lights. Lol get a clueNotmyusualid - Monday, July 9, 2018 - link
@ WasHopingForAnHonestReview- Thanks for saying out loud what was screaming inside of my head.
Go outside - the graphics are great!
just4U - Friday, July 6, 2018 - link
From the article: "So where does that leave us? As someone who has built PCs with my own hands for well over 20 years, it can be difficult to find a lot of value in any system builder."---
Like you I've been building systems for over 20 years now, and personally find it rewarding and your right it can be hard for people like that to find value in systems like this.. However I ran into a interesting problem this spring.
Building my own system would have cost me $275 more than buying a ibuypower or alienware computer. The parts would be better overall in the system if i built it myself but i couldn't get anything comparable due to high memory and video card costs. I eventually went with the Alienware as Im going to really look forward to tearing it down and rebuilding it in 4-5 years..whereas the Ibuypower is something more in line with what I'd build.. First time in a very long time I've actually purchased a (non laptop) system.. They have come a long way and certainly add value in the right areas these days.
lazarpandar - Friday, July 6, 2018 - link
I could build something that performs identically and is way less flashy for *way* less than $1950 estimated in the article.Hell eBay has been doing those 20% off sales like twice a month. Get your GPU one week and your CPU another, Newegg bundle whatever you can, check Slickdeals for SSDs, maybe put up with a rebate for your PSU. You could build this thing for like $1500.
Yvonne M. Miller - Saturday, July 7, 2018 - link
niceMDD1963 - Saturday, July 7, 2018 - link
Pleasantly surprised by this offering, actually; not everyone builds their own, and, $250 markup over all parts ordered individually is not a horrible deal, and, at least all parts seem 'brand name', although I'd sure skip the 8086K over a standard 8700K, refusing to pay another $150 for 200 more MHz or so....lazarpandar - Saturday, July 7, 2018 - link
It may be $250 markup on parts, but you have to also factor in which parts you wouldn't even include if you made the thing yourself. Like LEDs, closed loop cooler, you could get different parts that perform almost identically for way way less than $250 less. I'm sure that case is >$100 by itself, you can definitely good cases for cheaper. This doesn't even take into account the amount of savings you would see switching to AMD Ryzen 2 with probably a non-noticeable drop in frame rates.It's just a disingenuous claim that exists to make the value proposition of a prebuilt seem reasonable when in reality you can save way way way more than that.
P2C - Sunday, July 8, 2018 - link
It's disingenuous to say you could do it cheaper by switching or omitting parts when you could also modify the build from the system builder and come up with a comparable, cheaper system. The reality is if you need to build a system with these vendors using identical or near as possible components you would likely save less than 10% on a DIY. These companies will also include the necessary items to redeem manufacturer rebates. If you could wait for special deals you could save more but that's not always practical or convenient. Here's the system reviewed using PCPartpicker: https://pcpartpicker.com/list/HxQx9J with the only change being the case which is available at same price on Ibuypower. As of this post you save $134 on the DIY. Do the same for your build and the same at Ibuy or Cyberpower and show me the way way more savings.Arbie - Sunday, July 8, 2018 - link
@P2C - excellent comment; thanks for laying it out.lazarpandar - Sunday, July 8, 2018 - link
I would say that it's not disingenuous at all to state the following: You can get the same performance and save way way more than $250. I'm not talking about same parts, I'm talking same performance. I'm also talking about intelligently taking advantage of coupons and specials as they come up. Taking those points away from my argument is moving the goalposts a hell of a distance.If you watch eBay and Google Express for site-wide coupon codes, you can get your CPU and GPU at 15-25% discounts. You can check Slickdeals for the history of those coupons, they come up twice a month. EXTRA25 gets you 25% off Google Express orders (up to $100 savings) which include orders from Fry's *right now*.
No I'm not going to build some machine that adheres explicitly to the parts used on iBuyPower's website, that was never my point and would be a waste of my time. If you want to have the argument I'm trying to have, then go ahead and respond, but if you want to keep moving the goalposts, don't even bother.