The ASRock B360M-ITX/ac Motherboard Review: Tiny Take on B360, Sub $100
by Joe Shields on September 17, 2018 8:00 AM EST- Posted in
- Motherboards
- Intel
- ASRock
- Mini ITX
- 802.11ac
- Wi-Fi
- Coffee Lake
- i7-8700K
- B360
BIOS
When users first boot their system the first thing they are greeted by is the BIOS screen. In this case, an EZ Mode is what users will see first. The BIOS has an advanced mode which displays all the options able to be changed. On this particular board, the ASRock UEFI uses a black background with some monochrome graphics in the bottom right-hand corner. The white fonts and blue highlighting are easy to read against the black background. Overall the BIOS has most everything a user would want on this platform
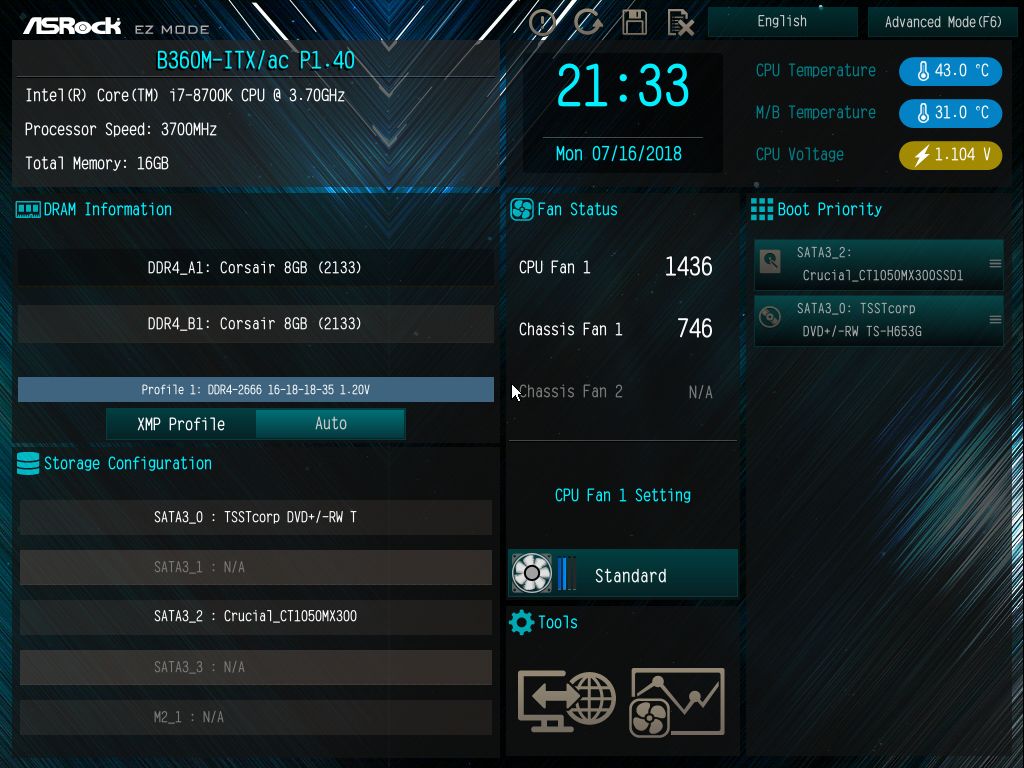
The EZ Mode screen above is an informational display with some functions able to be edited/adjusted. In this screen, we see high-level information such as processor type and speed, as well as total memory in the system and its current speed. There is also temperature and voltage information from the CPU as well as fan speeds, and boot priority, both adjustable through this screen. Users will also be able to implement XMP profiles here as well. Anything else will have to be done in advanced mode.
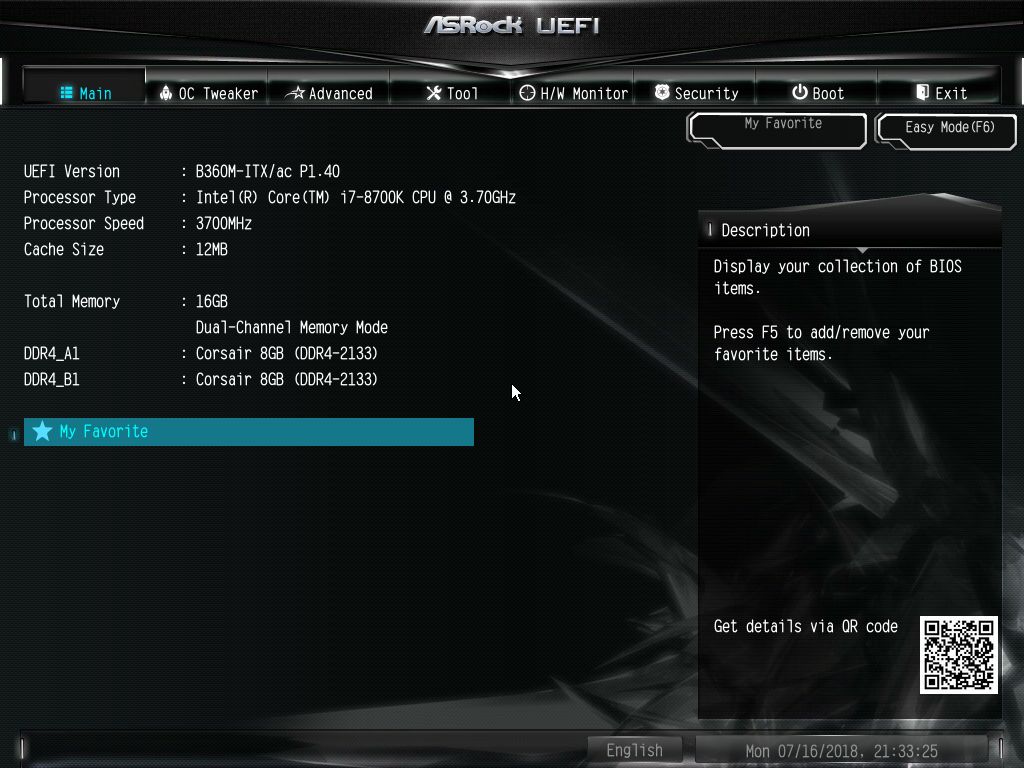
Our first screen in advanced mode is the Main tab. In this section, again it is informational displaying data about the BIOS, processor, and memory. Also within this section users are able to access the 'My Favorite' portion of the UEFI where users are able to set up a custom page with their most frequently used options.
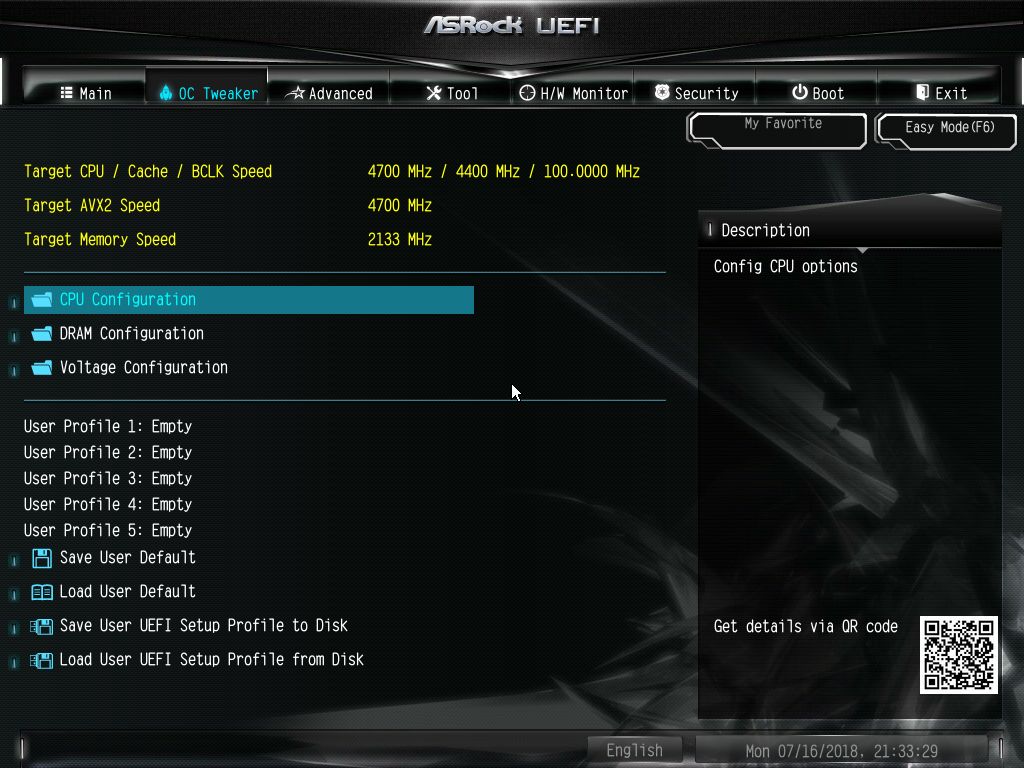
The next tab is the OC Tweaker section. Here is where users are able to configure their overclocks...if this was an overclockable chipset. Since it isn't we do not see the typical BCLK and CPU multiplier options normally found here. Instead, the CPU Configuration section has options for power saving modes as well as power and core limits for the CPU. The DRAM tweaker has options for XMP, reference clock and manual frequency settings with the board supporting up to DDR4 2666 sticks. There are also options for setting a lot of memory timings as well, several screens worth, in fact. The voltage configuration section has options to adjust DRAM, PCH, and VCCST voltage. We do not find an option to adjust the core voltage. This makes sense on a board that cannot overclock, but some users like to lower voltage at the same clocks as well to save power which cannot be done.

The Advanced tab displays several options underneath including CPU, Chipset, Storage, Super IO, ACPI, and USB configuration sections.
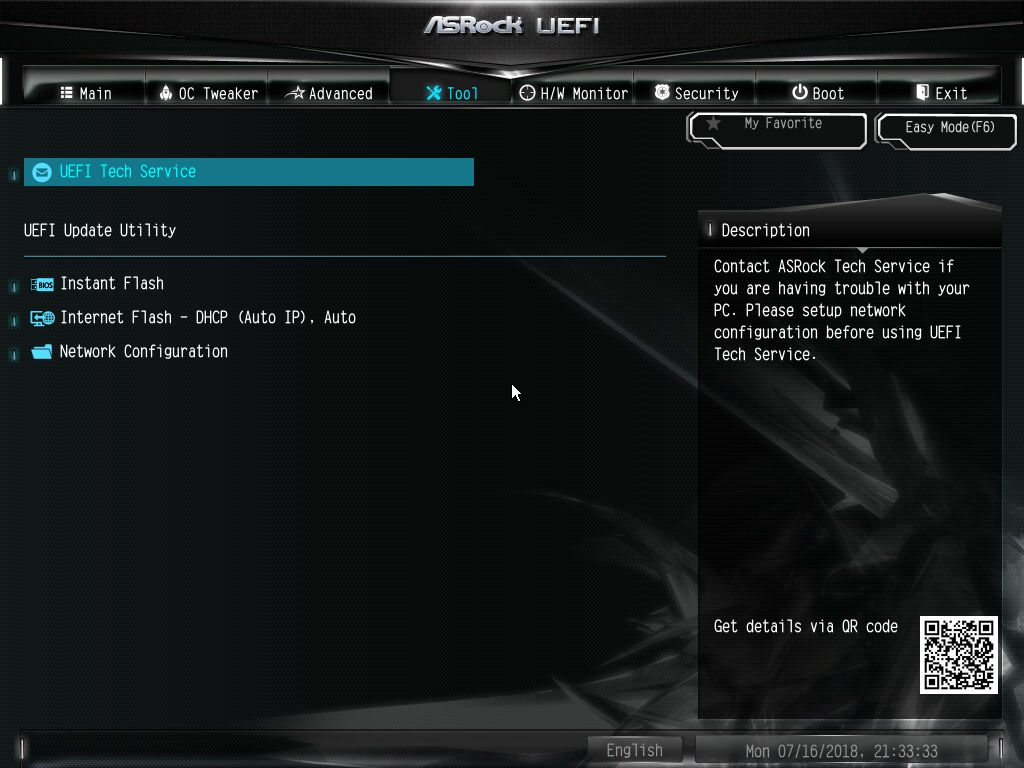
Under the Tool tab, users are able to email tech support through the UEFI, flash the BIOS through instant flash (via USB stick) or through internet flash which will go out to the ASRock repository and download the latest version. Network configuration options can also be found here.
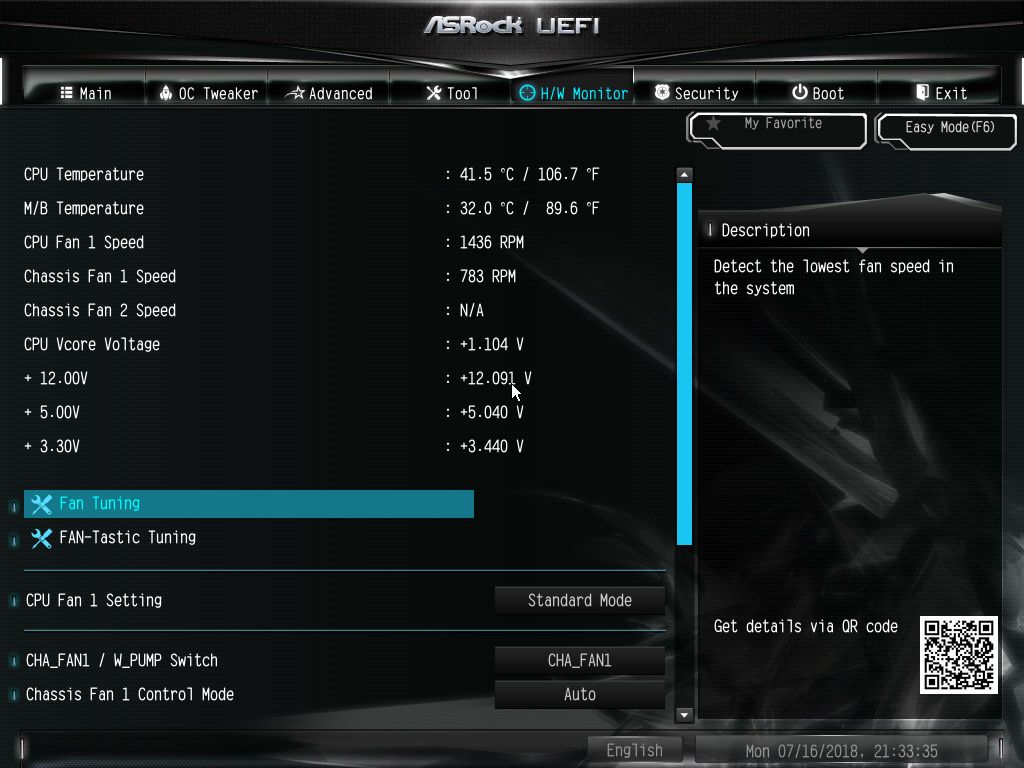
The H/W monitor section is pretty self-explanatory showing users a status of the system temperatures, CPU fan speed as well as system voltages. Within this section, users are able to adjust fan speeds and select pre-defined curves as well as set up custom curves.
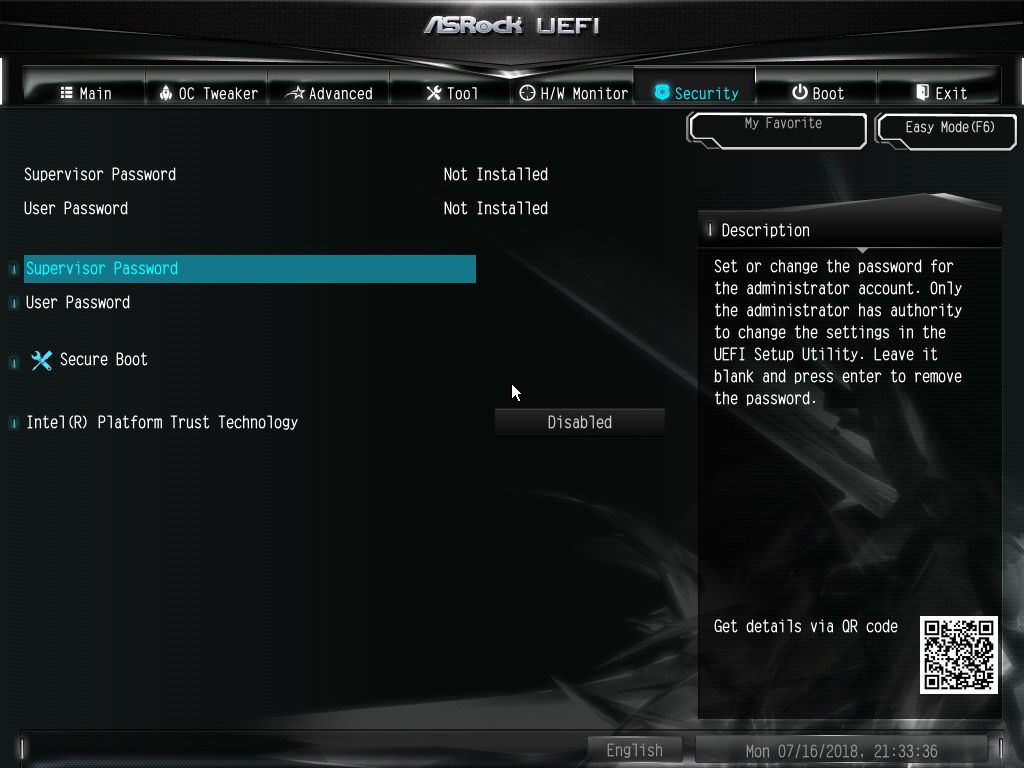
The Security tab is where users are able to setup passwords, secure boot settings as well as enable Intel Platform Trust technologies.
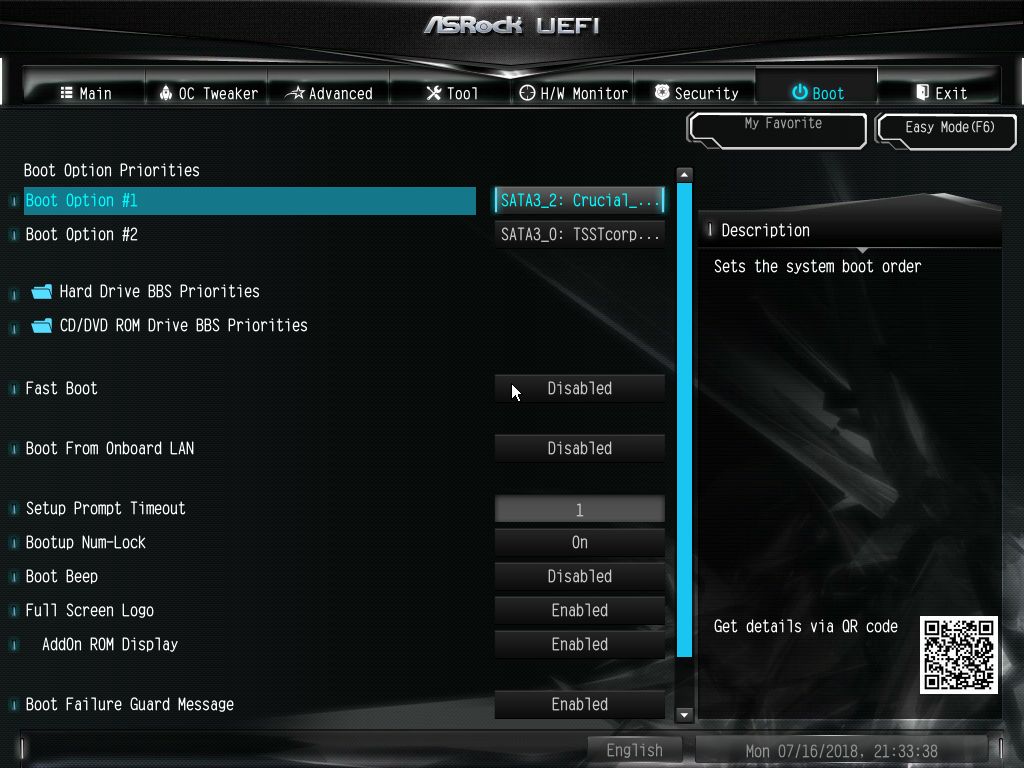
Last but not least, the Boot section contains all options associated with bringing the PC up. From boot device options and priorities to fast boot and other options, they can all be found in this section.
Overall we did not run into any issues in our use of the BIOS.


Software
Typically, motherboards include some kind of software disk that includes drivers to get the system started, and other applications the vendor deems 'useful'. In this case, a driver disk allowed us to get the drivers needed to get started as well as the included applications.
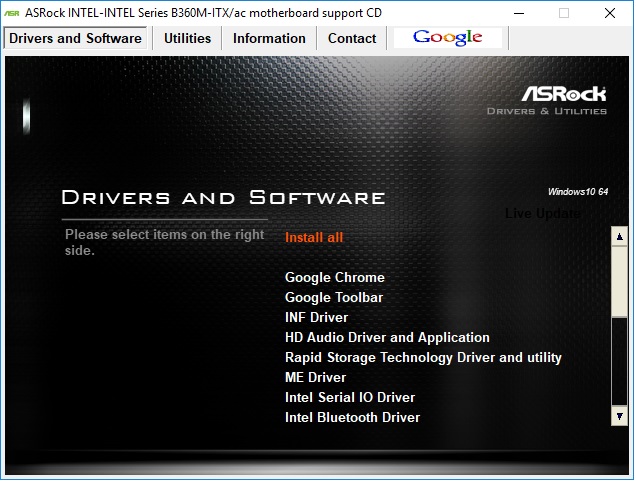
The driver disk includes a list of drivers in the Drivers and Software section needed to get the PC up and running as it was intended. ASRock includes extra software like Google Chrome and Google Toolbar on this page but it is mostly for drivers. The Utilities page has one option, Restart to UEFI. In essence, users will get most everything they need from the Drivers and Software tab.
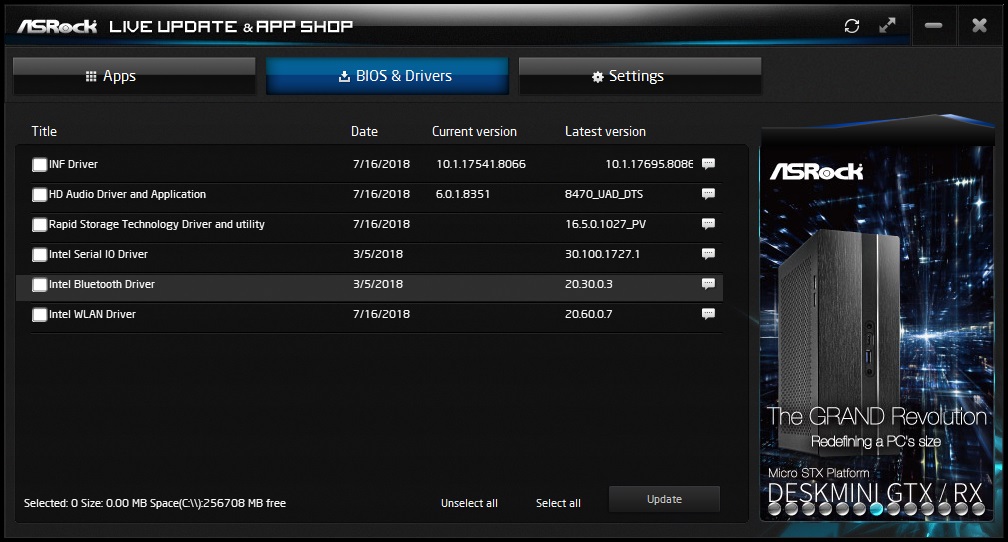
Once everything is installed, ASRock also includes a Live Update & App Shop application designed to keep users up to date on the latest software versions of the drivers and software. I updated the INF driver and Audio through here after testing which went without a hitch.

ASRock's A-Tuning software does work with their B360 based boards but will do so in a more limited capacity than with the overclockable Z370 chipset. The OC Tweaker section is limited to being able to change the same three voltages we observed in the BIOS Voltage section (DRAM, PCH, and VCCST). Users will not find BCLK or CPU multiplier adjustments here. The System Info section lists information about the CPU clocks and ratio, fan speed and temperature, as well as Vcore and power supply voltages on the main rails. The most useful function on this series motherboard will be the FAN-tastic Tuning section where users are able to adjust fan curves to find a balance between acceptable temperatures and noise from the fans.
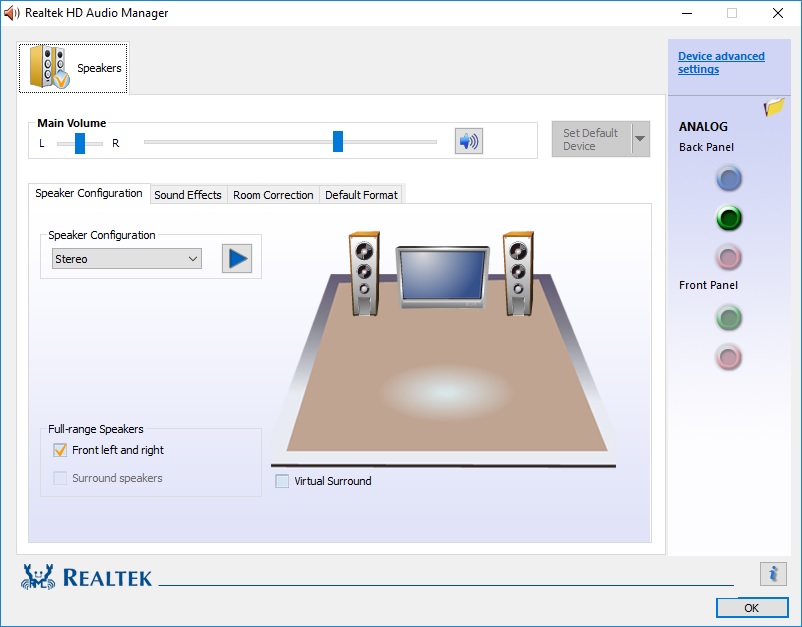
Last is an image from the Realtek HD Audio Manager. This is your typical vanilla Realtek software with options to edit speaker configurations, sound effects, and adjust for room sizes. The board uses the Realtek ALC887 codec which isn't the latest and greated but should be acceptable for most users. Again, we are looking at the B360 boards which have costs in mind.


23 Comments
View All Comments
Samus - Tuesday, September 18, 2018 - link
The audio codec is kind of a concern for budget gaming as well. If budget is no issue, well, then an external DAC is fine.azrael- - Friday, September 21, 2018 - link
For a moment, albeit a very brief one, I thought this was a review of a motherboard for AMD Ryzen processors, but of course those reviews are few and far between here on Anandtech. Silly me._Rain - Saturday, September 22, 2018 - link
Correcting mistake in the specs: Onboard SATA does not support any kind of RAID