More Setup
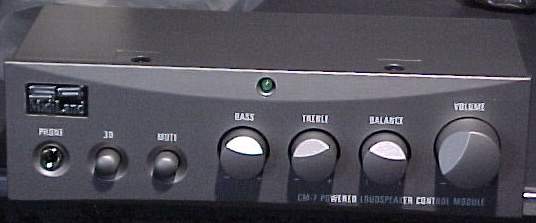
The 4060M steps away from its little brother by providing an independent control module with multiple installation options. The unit can be integrated into a computer case via mounting in a half-height 5.25" drive bay, or can either be placed on the desktop or mounted to some other surface via the included Velcro. Other than needing to access the power switch disguised by the MidiLand S4 logo on the subwoofer, this allows the speakers to be placed more for acoustics than for access to any controls on any of the satellites or sub.
Mounting the control module internally presents some design issues that MidiLand has tackled well. While internal connections on sound cards vary, the external connections are all essentially the same, especially when connecting to a simple 2.1 system. The amplifiers for the system are integrated into the subwoofer, as it became the common point in the system; it is also the largest enclosure and could accommodate the size of the amplifiers. Integrating them into the control module would have prevented it from being mounted internally, both for size limitations and the opportunities for interference.
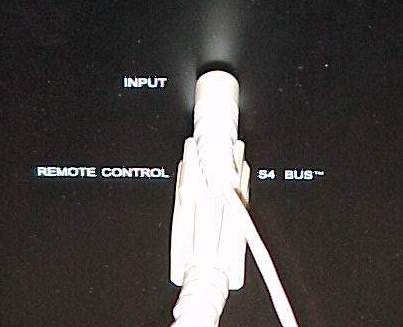
As a result, all of the audio, speaker, and power connections are made to the subwoofer. The connection to the sound card is provided through a stereo 1/8" minijack connection to the rear of the subwoofer. From there, a 10 foot long 15 pin cable connects to the control module from the subwoofer. For integrating the unit into a computer, mounting screws for a standard drive bay are included. In addition, there is a 2 foot long 15 pin ribbon cable attached to panel mount connectors to connect to the drive when mounted internally. The opposite end is then mounted to a slot cover and installed into one of the covers for expansion slots at the rear of the computer. For internal mounting, both an open half-height bay and open expansion slot in the case is required.
For user that decide that keeping the control module external is a better idea, MidiLand includes rubber feet and self stick Velcro for mounting options. The Velcro could be used to attach the box to the side of the monitor, or even to just on top of the subwoofer. Even for tabletop mounting, the Velcro may be superior because the 15 pin cable is relatively heavy compared to the lightweight control unit.
The control cable is almost three feet longer than the speaker wires, most likely because it is a stock multipin cable that has been applied to this task. The internal cable, however, appears fairly custom. Should the internal mounting be a desired feature, it is important to check that two feet of internal cable will be sufficient to reach from an empty drive to an empty slot.
Once these setup decisions have been implemented, the inline power adapter (note the change from the 3050M's wall wart power converter) can be connected and the subwoofer tucked away. The sub can be placed more remotely than in systems with all of the audio controls on the enclosure; this system has only the main power switch in the sub. From there, it was time to sit back and listen, and see what the system could do.


0 Comments
View All Comments